|
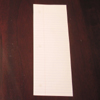
1.
|
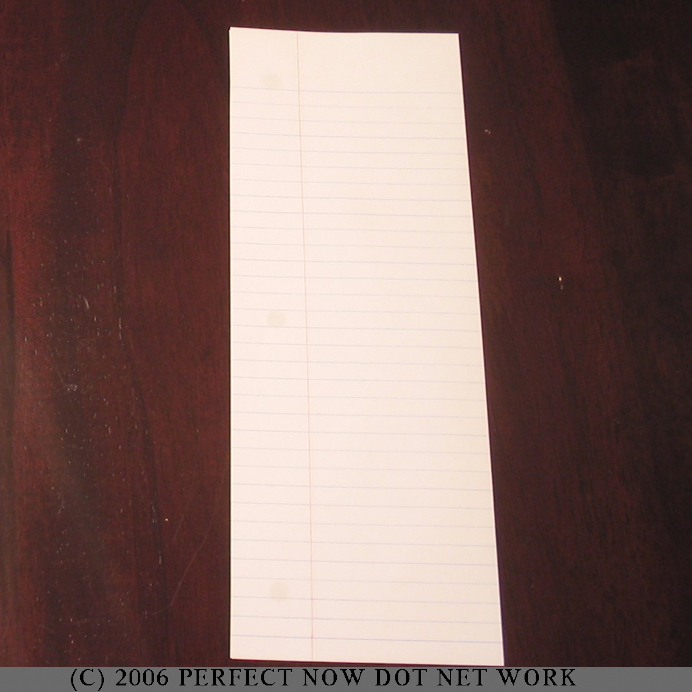
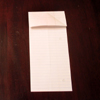
Fold the paper in half by taking the right vertical edge to the left vertical edge.
|
|
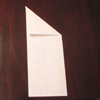
2.
|
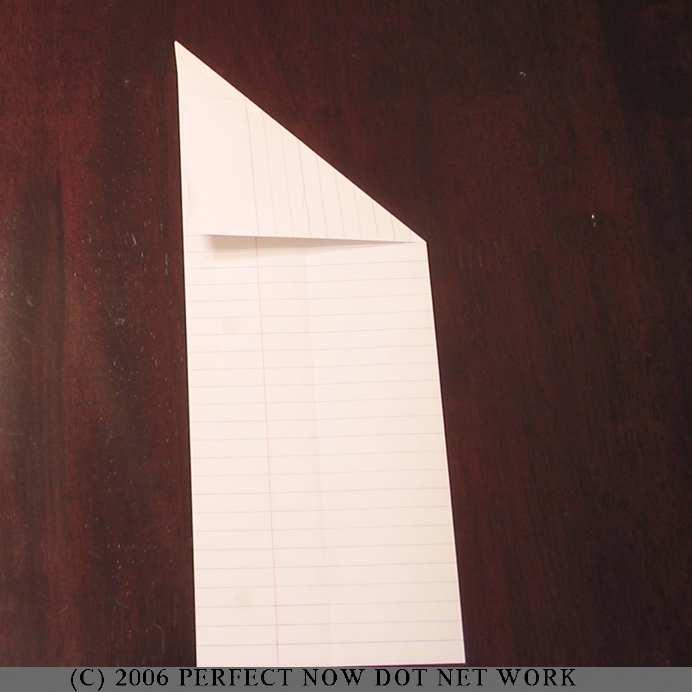
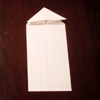
Take the upper right corner and fold diagonally to the left vertical edge. Unfold.
|
|
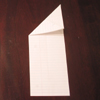
3.
|
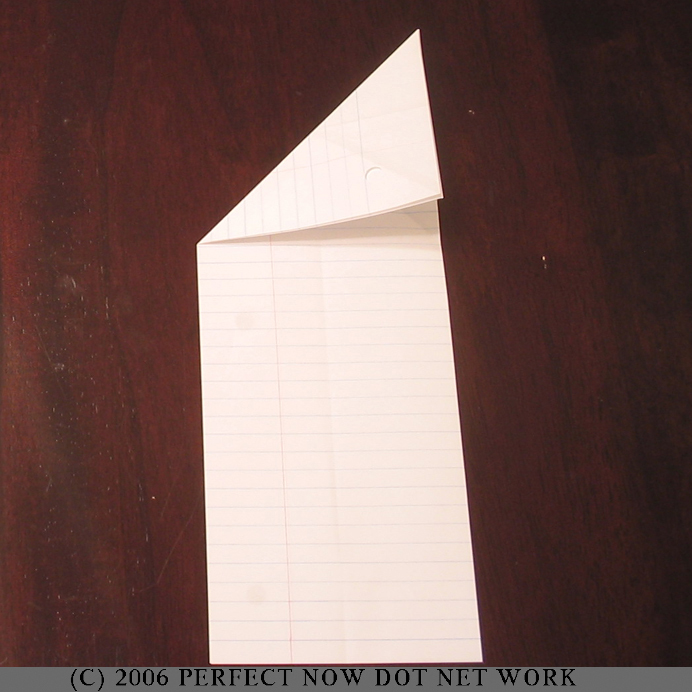
Take the upper left corner and fold diagonally to the right vertical edge. Unfold.
|
|
4.
|
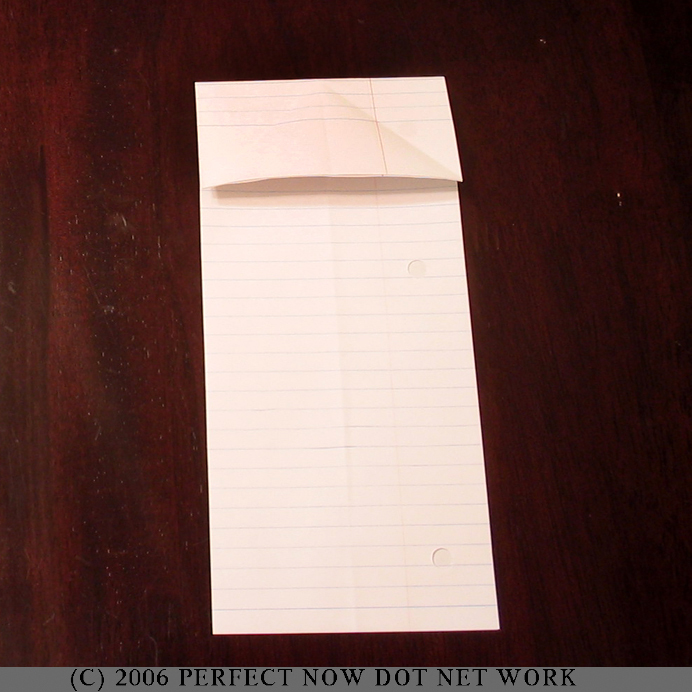
Turn over. Mountain fold the top so that you make a crease through the center of the folds made in steps two and three. Unfold.
|
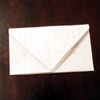
|
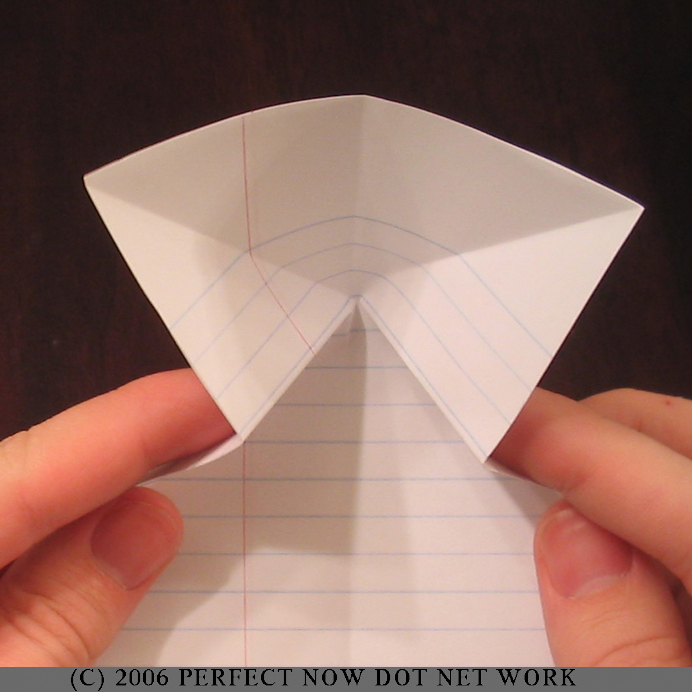
5.
|
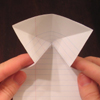
Turn over. Push the fold made in step four to the center. You are making a Waterbomb Base.
|
|
6.
|
Step five completed.
|
|
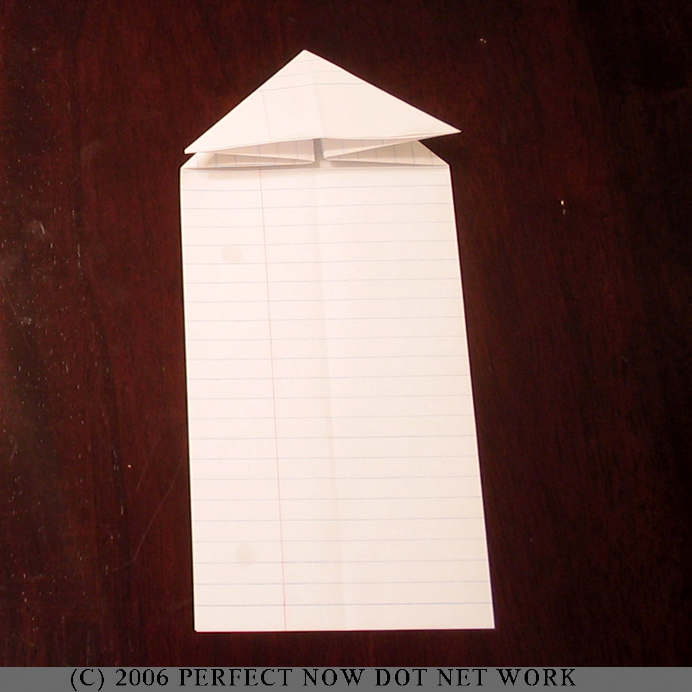
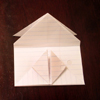
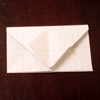
7.
|
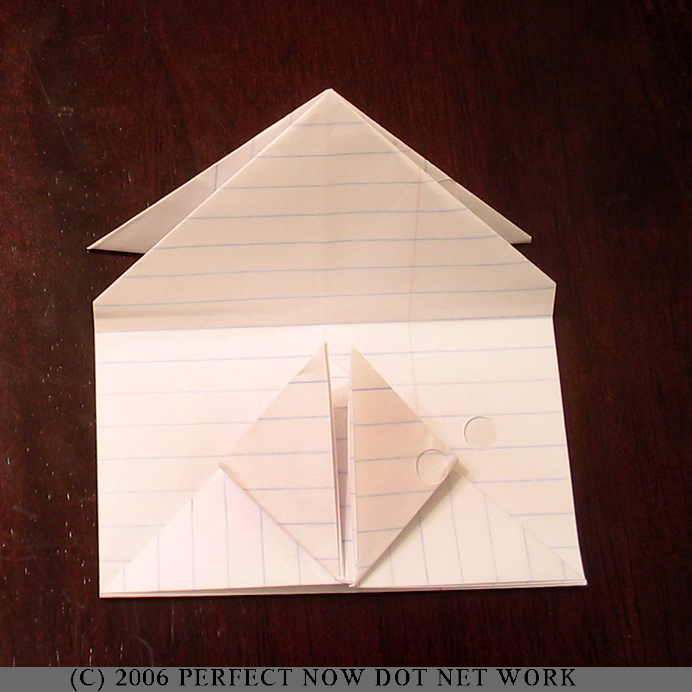
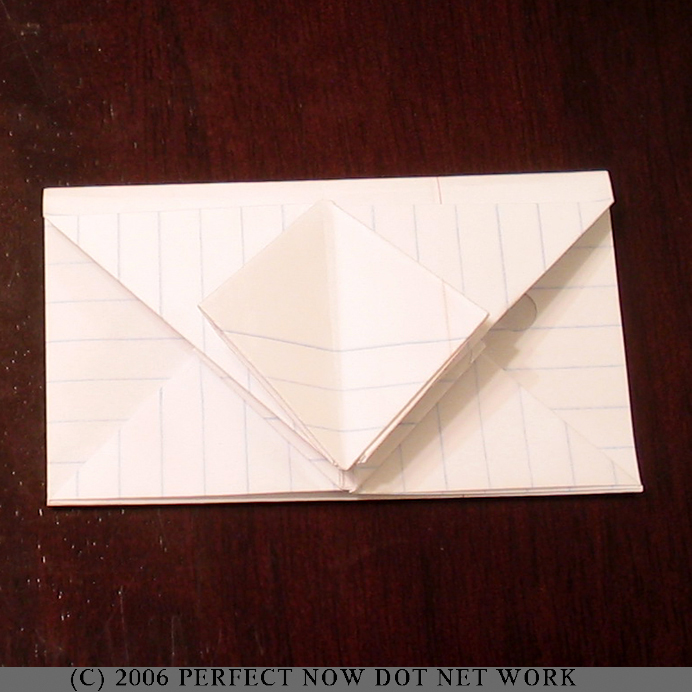
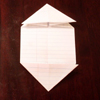
Repeat steps two - six for the bottom of the paper. You should end up with a model that looks like this.
|

|
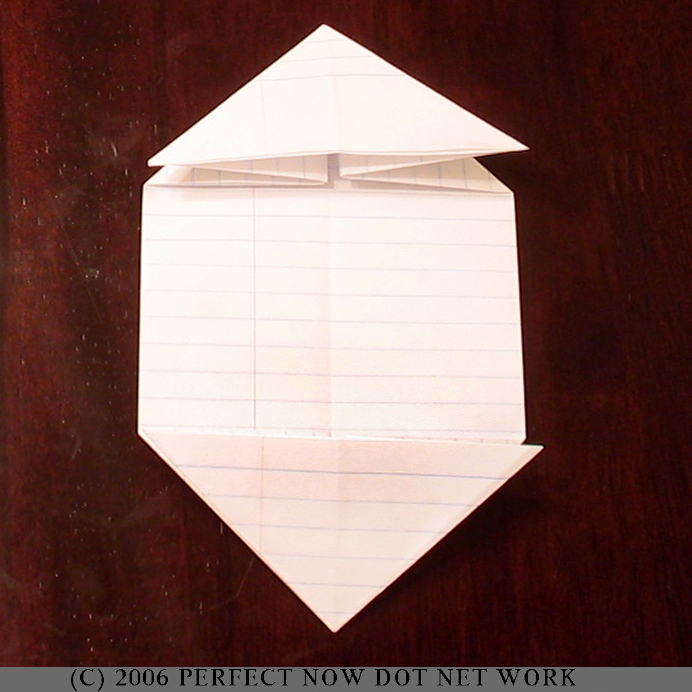
8.
|
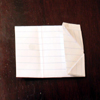
Valley fold the bottom triagle up so the base of the triangle is flush with the bottom of the paper.
|
|
9.
|
Fold the point of the upper triangle down so it meets the base of the lower triangle. It is okay if the base of the upper triangle does NOT lie flush with the top of the paper. It is important that the point of the upper triangle meets the base of the lower triangle.
|
|
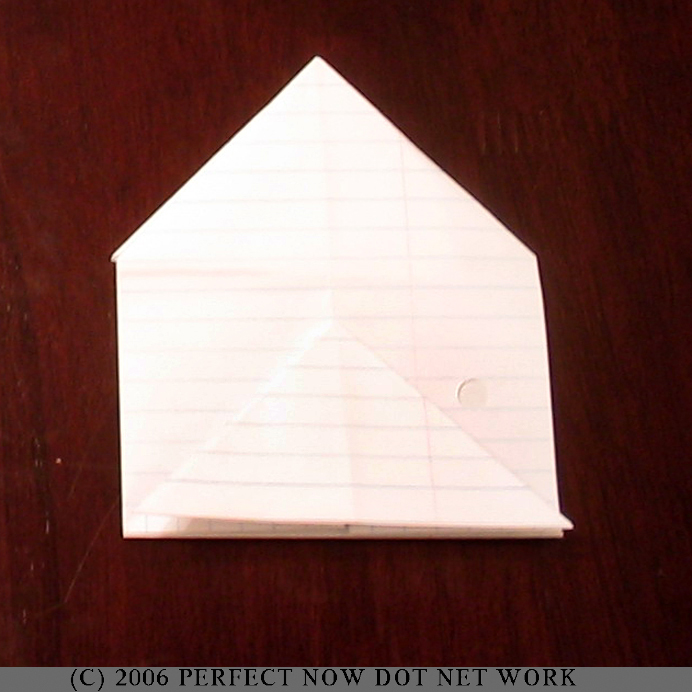
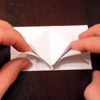
10.
|
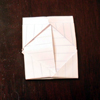
Unfold the upper triangle. Take the right flap and fold the point to the point of the triangle. Repeat for the left flap. You will know have a diamond in the middle of the triangle.
|
|
11.
|
Refold the crease made in step 9. Take the right flap and fold vertically to the left.
|
|
12.
|
Take the point of the flap you just folded to the left and fold it down to the triangle's point.
|
|
13.
|
Fold all flaps on the upper triangle to the right. Now fold the uppermost flap down to the triangle's point.
|
|
14.
|
Fold the uppermost flap back to the left. Your model should now look like this.
|
|
15.
|
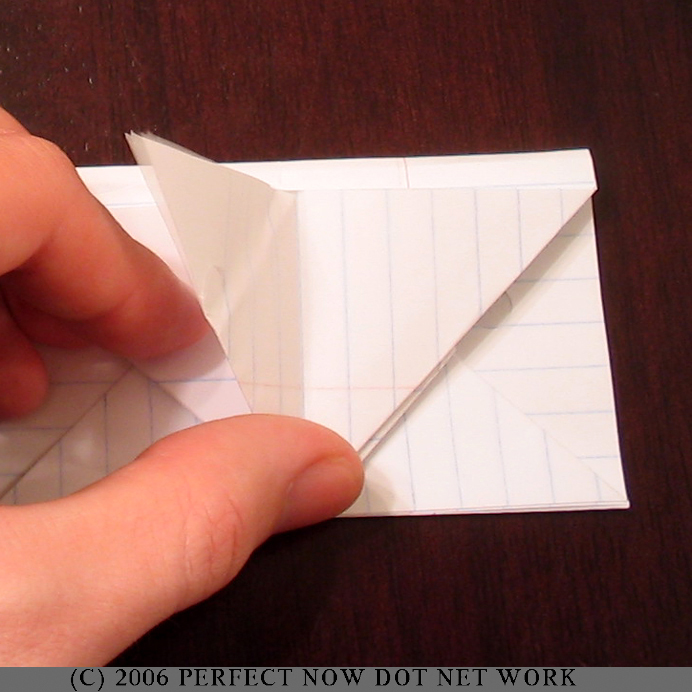
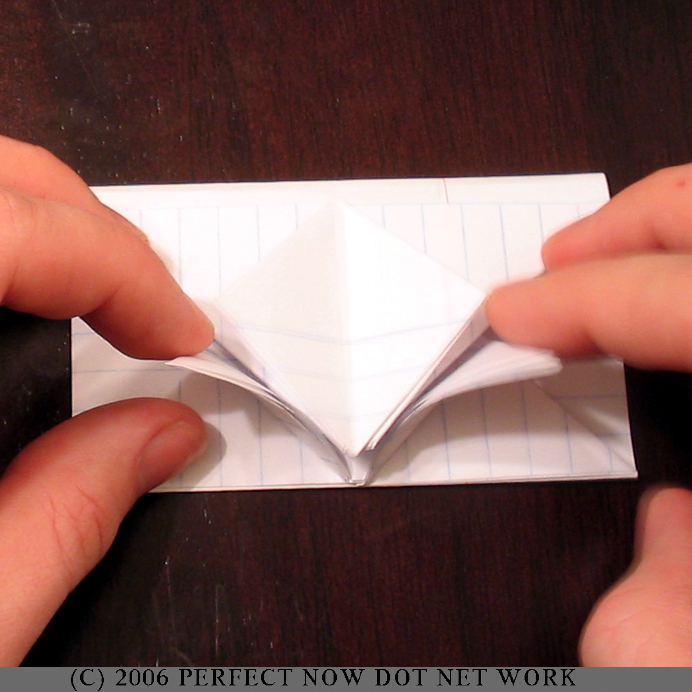
Pull the flaps made in step 10 from the bottom triangle.
|
|
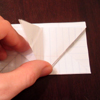
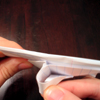
16.
|
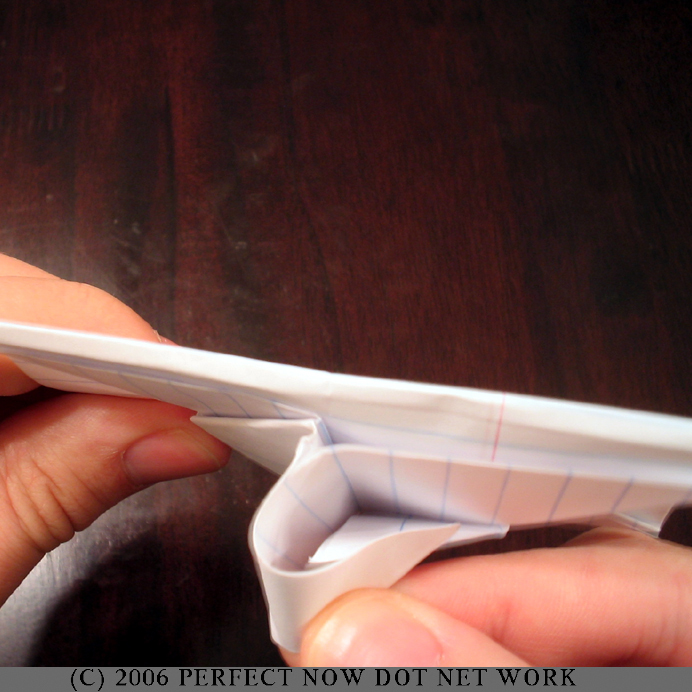
You are going to be tucking these flaps under the flaps made on the upper triangle. This photo shows the model from the bottom.
|
|
17.
|
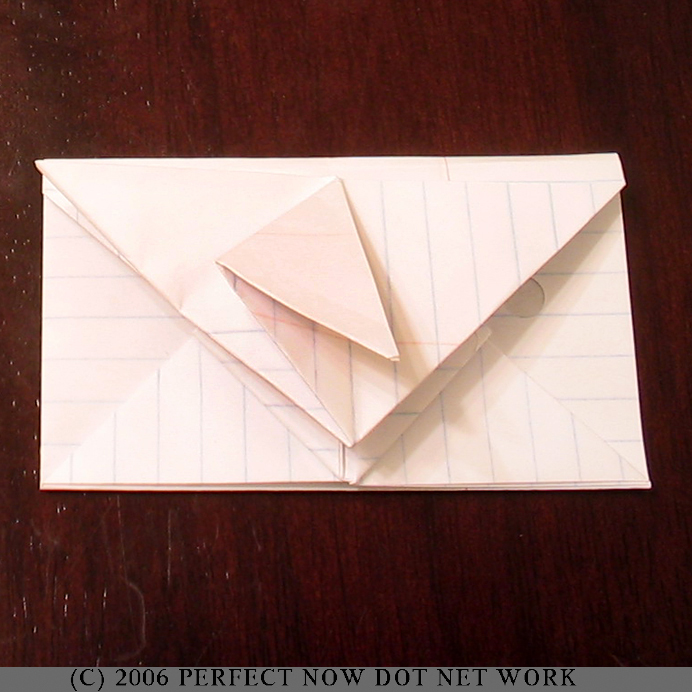
Step 17 completed.
|
|
18.
|
Turn over. Fold the right vertical side to the left as far as it will comfortably go.
|
|
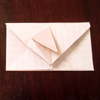
19.
|
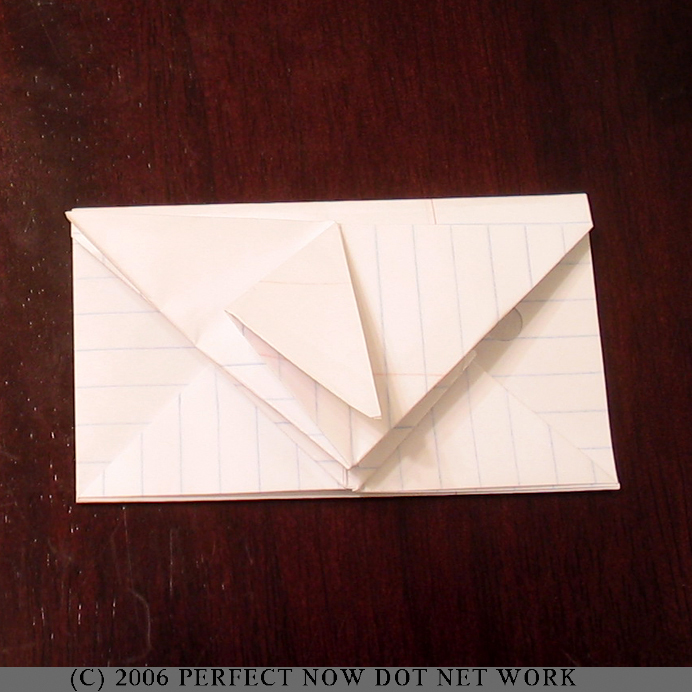
Repeat for the left side. Tuck the points of the left side into the corners of the right side.
|
|
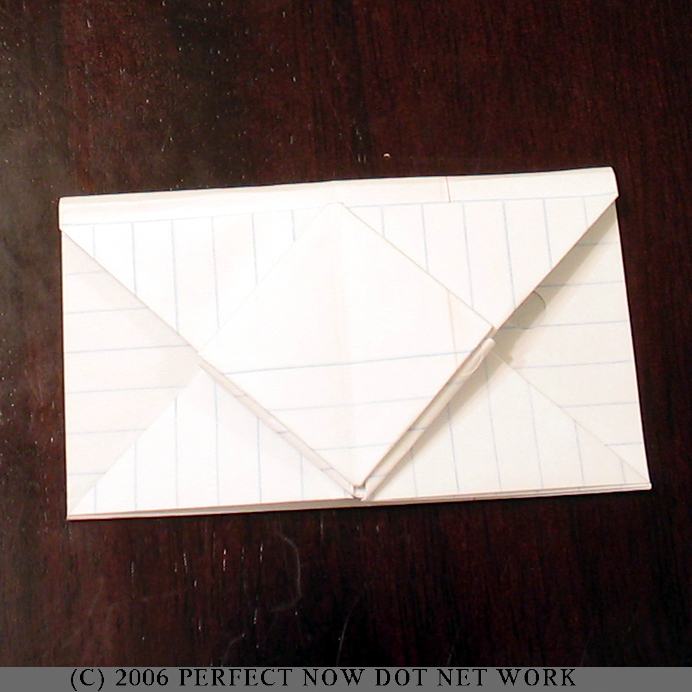
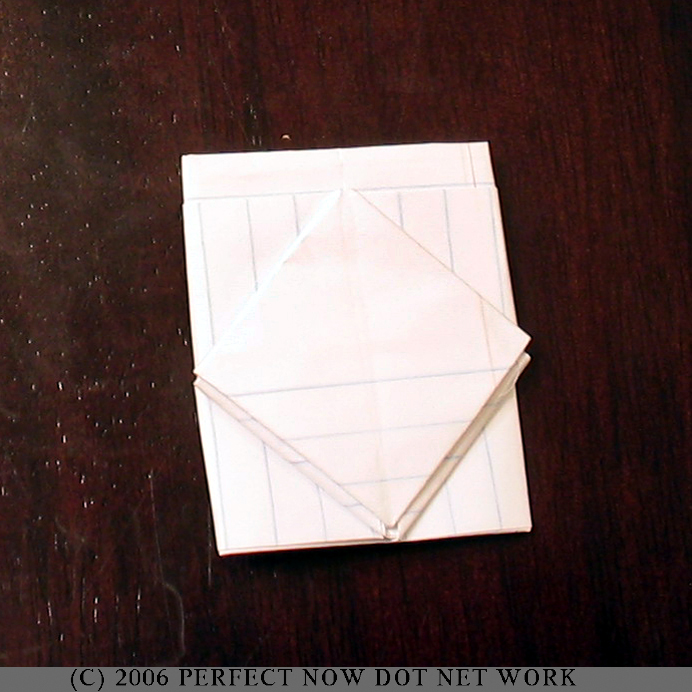
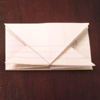
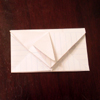
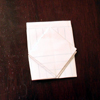
20.
|
Turn over. The completed Tiffany Note Fold.
|